The plugin is basically a Mixed Soup. Here you can find helper actions or dockers for modifying images. This plugin is a harbor of all things that are small enough to become a separate plugin but big enough that they are cannot be scripted with Actuator.
Repeat Around
Repeat Around command let you duplicate same object certain number of times and place these duplications around the circle. The best example is that you can generate flower with single petal. The command comes with
The way the operation works is following. Duplicate of a selected layer is being created. Then this duplicate is converted to paint layer. After that this layer is being rotated and transformed as many times as was set in the input around the center of rotation with offset.
Repeat around can be triggered by calling two actions: AB-YAP-RepeatAround, AB-YAP-RepeatAroundQuick.
By executing AB-YAP-RepeatAround the user will be prompt with the dialog to set the number of repetitions and offset from the center of rotation.
By executing AB-YAP-RepeatAroundQuick Repeat Around command will be triggered right away with previously set parameters.
If you frequently need to use the command, you can enable “Repeat Around Docker” by following these steps: Go to the menu, select “Settings,” then choose “Dockers,” and finally, click on “Repeat Around.”
Two parameters can be set.
Repetitions. Number of times content of the selected layer will be repeated. Maximum value 200.
Offset. Offset determines the number of pixels from the rotation center. Can be positive or negative in range [-5000, 5000]. Notice that offset can be negative value. Sometimes offsetting in negative direction gives even more interesting output.
Hue Shift
Note: Experimental feature.
Hue Shift allows automatically calculate Hue Saturation Value shift between two colors.
For example. You have a character clothes that has blue top and green bottom. You want to change HSV such that blue top become red. This tool let you do it. The advantage of this operation comparing to Hue Saturation Value filter is that you can specify exact color value that this particular color has to become.
Hue Shift can be access via menu: Tools – Augmented Brush – Hue Shift
Hue\Saturation\Value shift will not always make color exactly as specified, however it will make the color as close as possible.
To use Hue Shift run the command and set Source Color and Destination color in the popup window.
Known Issues
- Color shift is not precise. Some little difference in colors might be observed
- The operations is not in Undo stack
Quantized Gradient
Quantized Gradient is a little tool that allows generating color palette between foreground and background color.
Quantized Gradient is a little tool that allows generating color palette between foreground and background color.
To activate the tool as an action select the command: Tools Augmented Brush – Quantized Gradient. Set the number of colors. The tool will use foreground and background colors to generate the gradient. Number of color can be between 3 and 50. By default number of colors is 10. Foreground and background colors will be part of this gradient. That mean that there will be foreground, background colors and 8 colors between them.
The docker will duplicate the dialog.
Export Selection
Export Selection functionality allows exporting selection into a directory with automatic file naming. The names will be such that the order of exports will match the file order.
Export Selection comes as a docker and action. Additionally shortcut key can be assigned to activate it.
Activation
- Docker: Enable it by selecting menu Settings – Dockers – Export Selection
- Action: AB-YAP-ExportSelection action and can be triggered either with a script or using the Actuator plugin
Usage
To use Export Selection first select the destination by clicking on Destination button. This button will call a dialog window to set directory for export. All the files will be stored there.
The directory will be stored between Krita sessions.
If Export Selection triggered with action the Plugin will prompt with dialog window if destination directory is not set. Otherwise the selection will be exported into previously specified directory.
Select any area of the image and press Export. The plugin will copy the content of the selection and create new document. This new document will be exported as PNG file to selected directory. Each file will have a name that will match the pattern: year-month-day-hour-minute-millisecond-width-height.png In other words the name of the file will have a timestamp with date and time up to milliseconds. That way a lot of selections can be stored very quickly. Yes you are bound to one selection per millisecond.
Any selection can be exported. That means that even selection produced by Magic Wand will be exported without a trouble.
Export Selection also can be used to track the progress of the drawing. For this you need to select everything by using Ctrl+A command and export entire image.
Pixel Perfect Rect Selection
This docker is good for cases when precise fine tuning of the selection is needed. The docker is useful only for rectangular seletion.
Usage
Activate the docker by using menu Setting – Dockers – Pixel Perfect Rect Selection. Make a selection and press “Sync” button. This will set proper values for position and dimensions of the selection. Tweak the values for position (x and y) and dimensions (width and height).
Any time you change the selection outside the docker you need to sync selection data with a docker manually by pressing the button.
Multi Layer Blend
Multi Layer Blend is a Docker that lets apply blending mode to multiple selected layers at the same time.
Usage
Activate the docker by using menu Setting – Dockers – Multi Layer Blend. Select multiple layers and choose blending mode from the list. Click “Apply”. Blending mode for all the layers will be applied.
Layer for which blending mode cannot be applied will be ignored.
Shortcuts
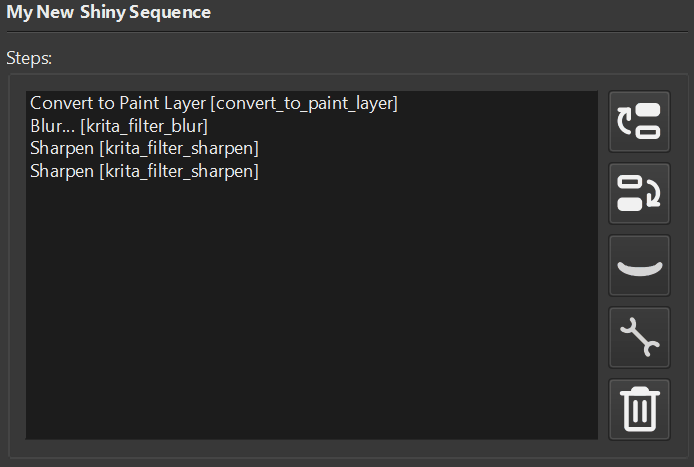
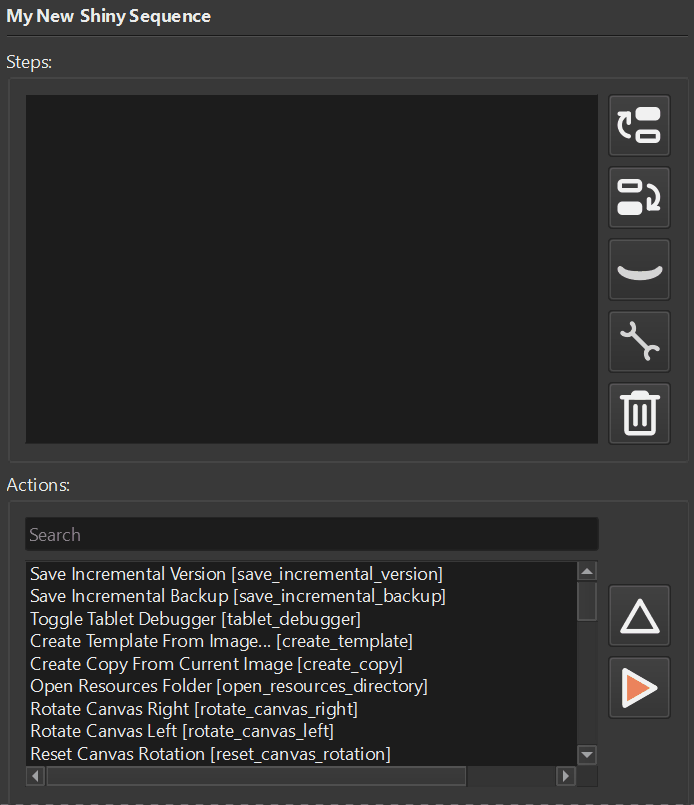
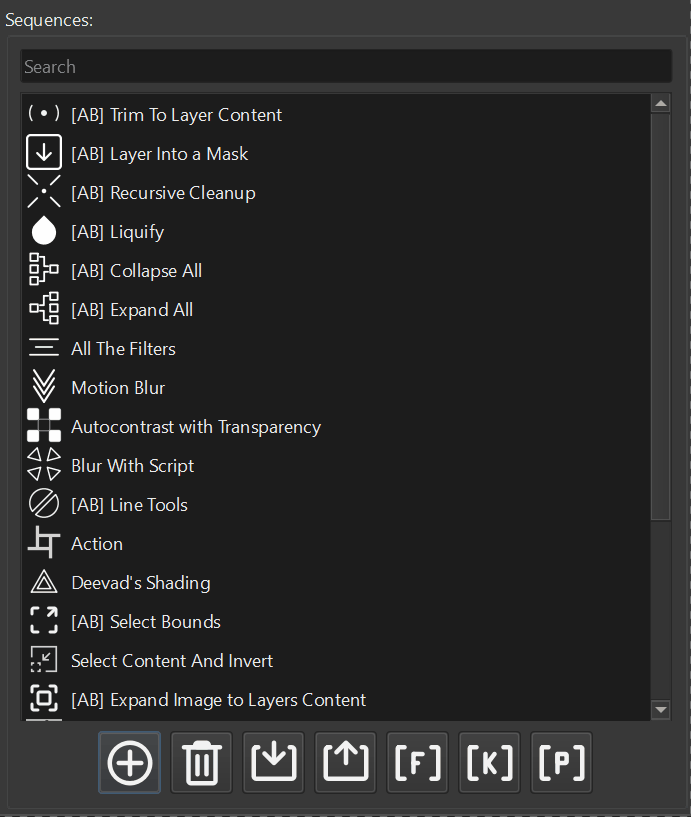
In case if you want to apply the shortcut to specific blending mode it is better to use Actuator plugin for that. This entry illustrates how it can be achieved. Once the sequence is created you can assign a shortcut for it.
Duplicate With Offset
The docker allows duplicating the layer and settings the offset for duplicated copy. This way linear patterns of objects can be generated.
Activate the docker by using menu Setting – Dockers – Duplicate With Offset. Set values for X and Y (which is offset) and click “Duplicate and Offset” as many times as many copies is needed.