In this record, our focus will be starting with understanding what Krita has to offer in terms of scripting. Additionally we touch the topics of Python module and introduce you to the notion of object.
Before you read this material make sure to read the previous record.
Open you Krita application and create a new Document. The parameters of the document are not important. Via menu choose Tools – Scripts – Scripter.
Module
Before we start with Krita module, let’s figure out what the module actually is.
You already know that Python comes with the set of basic functions and operations. What should we do if we want to work with file system? Let’s say we want to have a list of images in the specified directory. These operations are not available right from the start. However, we can use one of the Python built-in modules that have all kind of operations to work with files and directories.
We can imagine that function or class (we will learn about it on the next record) is a special kind of recipe which contains instructions how to perform some actions in certain context. The module is then a special kind of shelf that keeps these recipes together. This shelf has its own unique name. So we can refer to the specific recipe.
For instance, you have a shelf that is called color. That shelf has a recipe to mix color (let’s call it mixer), and the recipe to apply light and shadow (let’s call it light_and_shadow). The color mixer can be a function that takes two colors and returns a mixed version of it. The light and shadow can be something that takes an image as input, applies lighting to it and then returns the image.
In terms of reference we would use the line color.mixer(color1, color2) in color mixing case and color.light_and_shadow(img) in the second case. Notice how we use the name of the color shelf and the dot to specify what kind of recipe we are using from the shelf.
Coming from imaginary example lets consider example with files we have started from.
The Python library has built-in module called os. This module is a set of functions to manipulate file system. Specifically listdir is a function to list the content of a directory.
import os
dir_items = os.listdir("/path/to/direcotry")
print(dir_items)
Try to replace “/path/to/direcotry” with your own path. Note that on Windows you should make sure that you use forward slash “/” instead of backward “\”. In context of working with strings, backward slash has its own behavior.
Once you execute the script you will see a list of directories and files in the directory you specified.
Object
Before we go into what Krita has to offer we need to learn one more concept of programming. And it is a notion of classes and objects. We will touch this topic very briefly so that you will be able to move forward.
The best way to describe the class is to compare it to a blueprint. The blueprint has the picture of the thing with its properties and size. Some additional documents can have a description of its behavior. When we build the thing we have an existing copy of the thing made by the following a blueprint.
The blueprint in the programming of the context is the class definition. The particular thing made by the definition of the class is called an instance of a class. More general we can also refer to it as an object.
Let’s study a small example.
class Color:
    def __init__(self, r, g, b):
        self.r = r
        self.g = g
        self.b = b

    def normalized(self):
        return self.r / 255, self.g / 255, self.b / 255

    def __repr__(self):
        return f"({self.r}, {self.g}, {self.b})"

green = Color(0, 255, 0)
print(green)
print(green.normalized())
blue = Color(0, 0, 255)
print(blue)
print(blue.b)
We define the new class with the class operator following the name of the class. The __init__ and normalized are called methods of the class. The r, g, and b are called a members of the class. You can ignore the __repr__ for now.
We then create two instances of the Color class. They are green and blue colors. Notice that we use the same Color class but create entirely different objects.
When we refer to the member of the object we use the dot notation (ex: blue.b). When we refer to the internal class function (which we conventionally call method) we use round brackets (ex: green.normalized()). Most of the operations you will perform while scripting will involve the objects. So it is important to get familiar with notation.
We will learn more about classes in the further records. For now it is important to understand that instance of the class is an object and you can invoke its methods or refer to its members. Using classes improves the quality of the scripts tremendously and we will regularly use them.
Krita module
Krita comes with its own shelf that have a large variety of useful recipes. The name of of this shelf is, well, krita. The main recipe in this shelf is Krita. Even though the krita module has a lot of classes in it, your entry point will in most cases will be Krita. Essentially, Krita is a class that wraps the access to Krita scripting operations.
To start using the Krita scripting we need to first import the Krita into our script. The next step is to obtain an instance of this class. Unlike the the example with Color above we do not call Krita(), instead, we do it by calling method instance() on the class definition directly. This is because the Krita class is not actually a Python code. It is a converted version from the C++, which is Krita is written.
In Krita scripting, anything you do is controlled by objects. Pretty much all the scripts will have the following sequence of actions:
- Get the instance of the Krita application
- Access the active Window
- Access the active View
- Get current Document, manipulate the document
- Get selected layers (or by other criteria), manipulate the layers
Rotate Canvas
Let’s study and example for rotating the canvas view.
from krita import Krita

app : Krita = Krita.instance()
window = app.activeWindow()
view = window.activeView()
canvas = view.canvas()

print(canvas.rotation())
canvas.setRotation(45)
print(canvas.rotation())
“from krita import Krita” is another way to refer to our shelf. The syntax of the command as follows: from <the name of the module> import <the names of the objects to import divided by commas>. This is a shortcut to avoid calling the operation krita.Krita.
On the 3rd line we create an instance of the Krita application and call it app. You might wonder what this column symbol with the Krita after the variable name is. Given that Python is an interpreting language it can determine the type of the variable during the execution. If we know the type of the variable in advance, we can do it when we write the script. Even though for the Scripter this little addition does not add much, it will be helpful once we start wring scripts with Integrated Development Environment (a fancy word for the code editor).
In line 4 we access the Window object from the app by calling activeWindow() method. Krita supports multiple windows of the application. You can access all of them via script. For now, we are interested only in active window (it will be the case in most situations).
In line 5 we use the window object to get access to the view of the application by calling method activeView(), the same we did to get access to the window. Line 6 we obtain the canvas.
Finally, after all this work done we can now perform operations with our canvas. The simplest action and the most visually clear is to rotate the canvas. We do it by calling setRotation(45) rotation method on the line 9. Notice how the print function will print 0 and then 45.
def setRotation(self, angle: float) -> None:
    """Set the rotation of the canvas to the given an angle in degrees.

    Args:
        angle (float): Degrees [-360, 360], however any number is applicable the degree will be just modulo of 360.
    """
The 45 in our case is the angle we want to rotate the canvas.
Try running the script and notice how the canvas view rotated by 45 degrees. Btw, to reset the view you can press the 5 button.
You can learn what else is possible with Canvas class in the class reference. You might notice that the code on this page looks a bit different from what have seen so far. That is because the original API is in C++. It is a good idea to start learn the similarities and how the code can be converted to Python. Most of the time you can just guess. Other times you can just find the proper parameters by trial and error. This page is updated once the latest Krita version is released.
Alternatively you can use changelog API, however it is relatively new resource and we cannot currently say how it is being updated.
In any case, learning how to use documentation is important aspect of software engineering. It will open much more possibilities for you instead of relaying on what you can find on Stack Overflow or Krita forum.
Krita Actions
Most of the things you used to do in Krita, such as switching foreground color with background color, activating the brush or eraser, switching to Move Tool, creating a new layer, or even save the Document under the hood are done with something called Actions. Action is another kind of objects that main goal is to perform a simple task, like the ones we listed just now.
By using actions you can automate a lot of repetitive tasks you might be doing manually.
Let’s say in your drawing work you do a lot of blocking with selecting the area and filling it with the foreground color.
Instead of pressing a set of keyboard shortcuts Shift + Backspaces, then Ctrl + Shift + A you can create a script that will do both of this operations in one go. To do so we need to access the actions from the action registry and trigger them.
from krita import Krita

app : Krita = Krita.instance()

fill_foreground = app.action("fill_selection_foreground_color")
deselect = app.action("deselect")

fill_foreground.trigger()
deselect.trigger()
We start with importing Krita and making an instance of the application (line 3). In the line 5 and 6 we refer to action registry by requesting action objects by their names. Next step is to trigger the actions (line 8 and 9). If you make a selection in your editor and run the script in the Scripter you should see that the selection is disappeared and an area filled with foreground appears instead. Keep in mind that this will work on the Paint Layer. On other layers it might just silently do nothing or simply crash the application.
Notice how we do not create instance on Window, View and Canvas. In this case we do not require that since actions are independent from other things and can be triggered any time.
Reuse the scripts
We already have two useful scripts in our disposal. Now, it would be nice to keep them and reuse whenever we need them. At this point, if we close the application, all the changes to the scripter will not be saved and the code will be lost.
Save and Restore the script
There are two ways of saving the scripts (for now, later we will tell about third one). You may copy the code from the scripter into the text editor like a notepad (Windows) or gedit (Linux) and then save the file in your file system. Or you can use the scripter itself. The File menu offers the ways to save the script and load into the editor as well.
We suggest to designate a separate directory for all your scripts so you can keep them organized.
Ten Scripts
Krita comes with prebuilt 10 sockets that you can use to run your scripts. Go to the menu Tools – Scripts – Ten Scripts. The window will show the 10 sockets for the scripts that can be executed by the shortcut Ctrl+Shift+#. Use three dots to select your script from the file system. Now you can execute the sequence of actions via single shortcut key.
Actuator
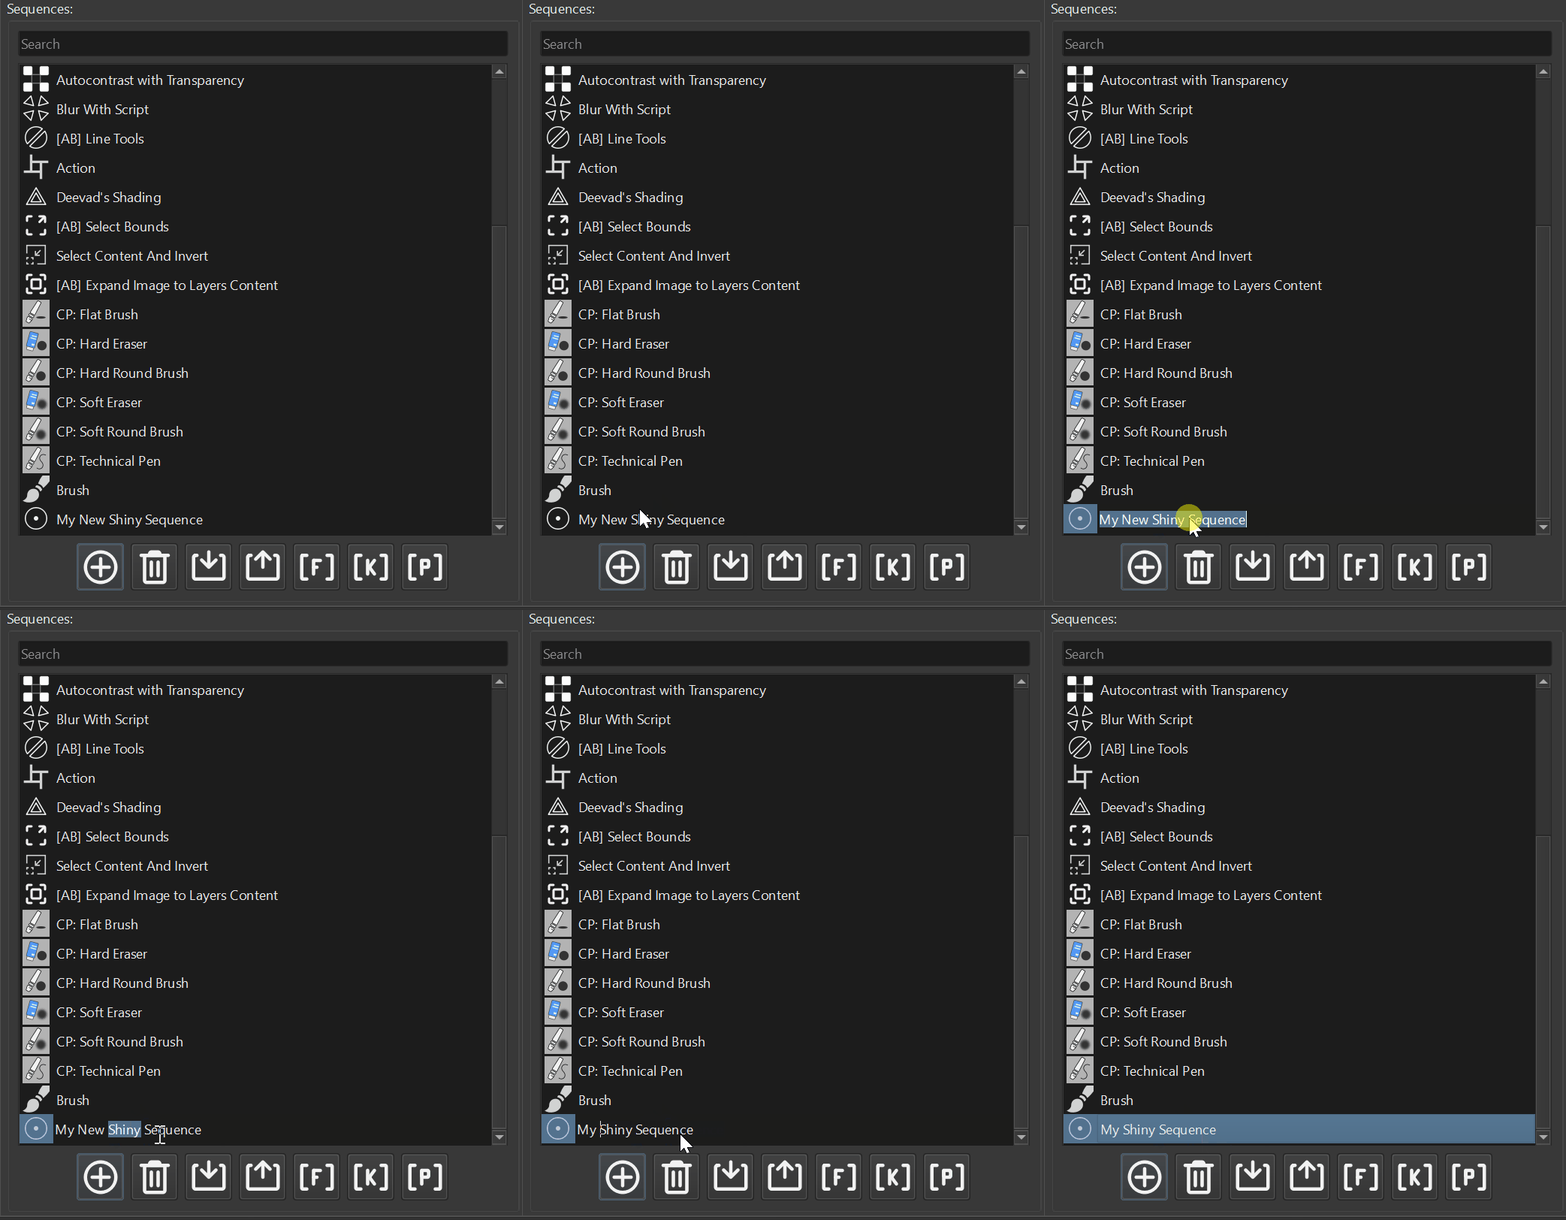
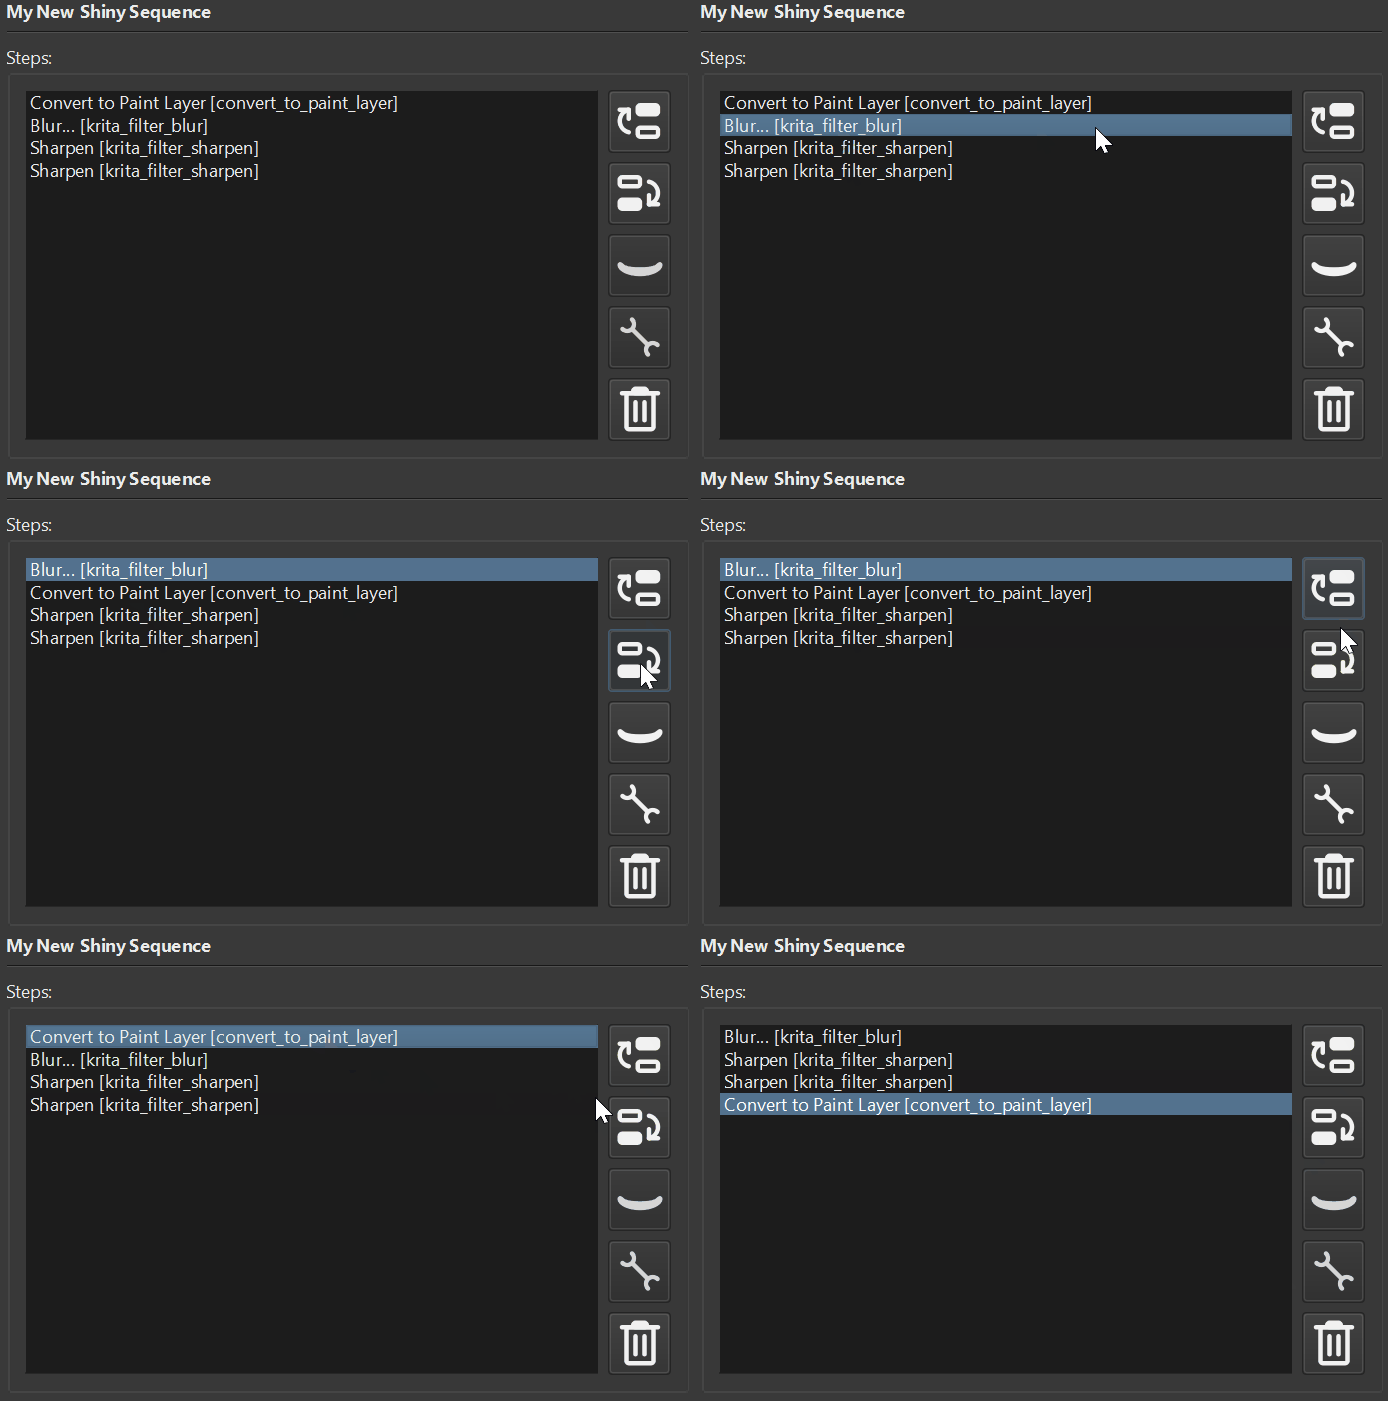
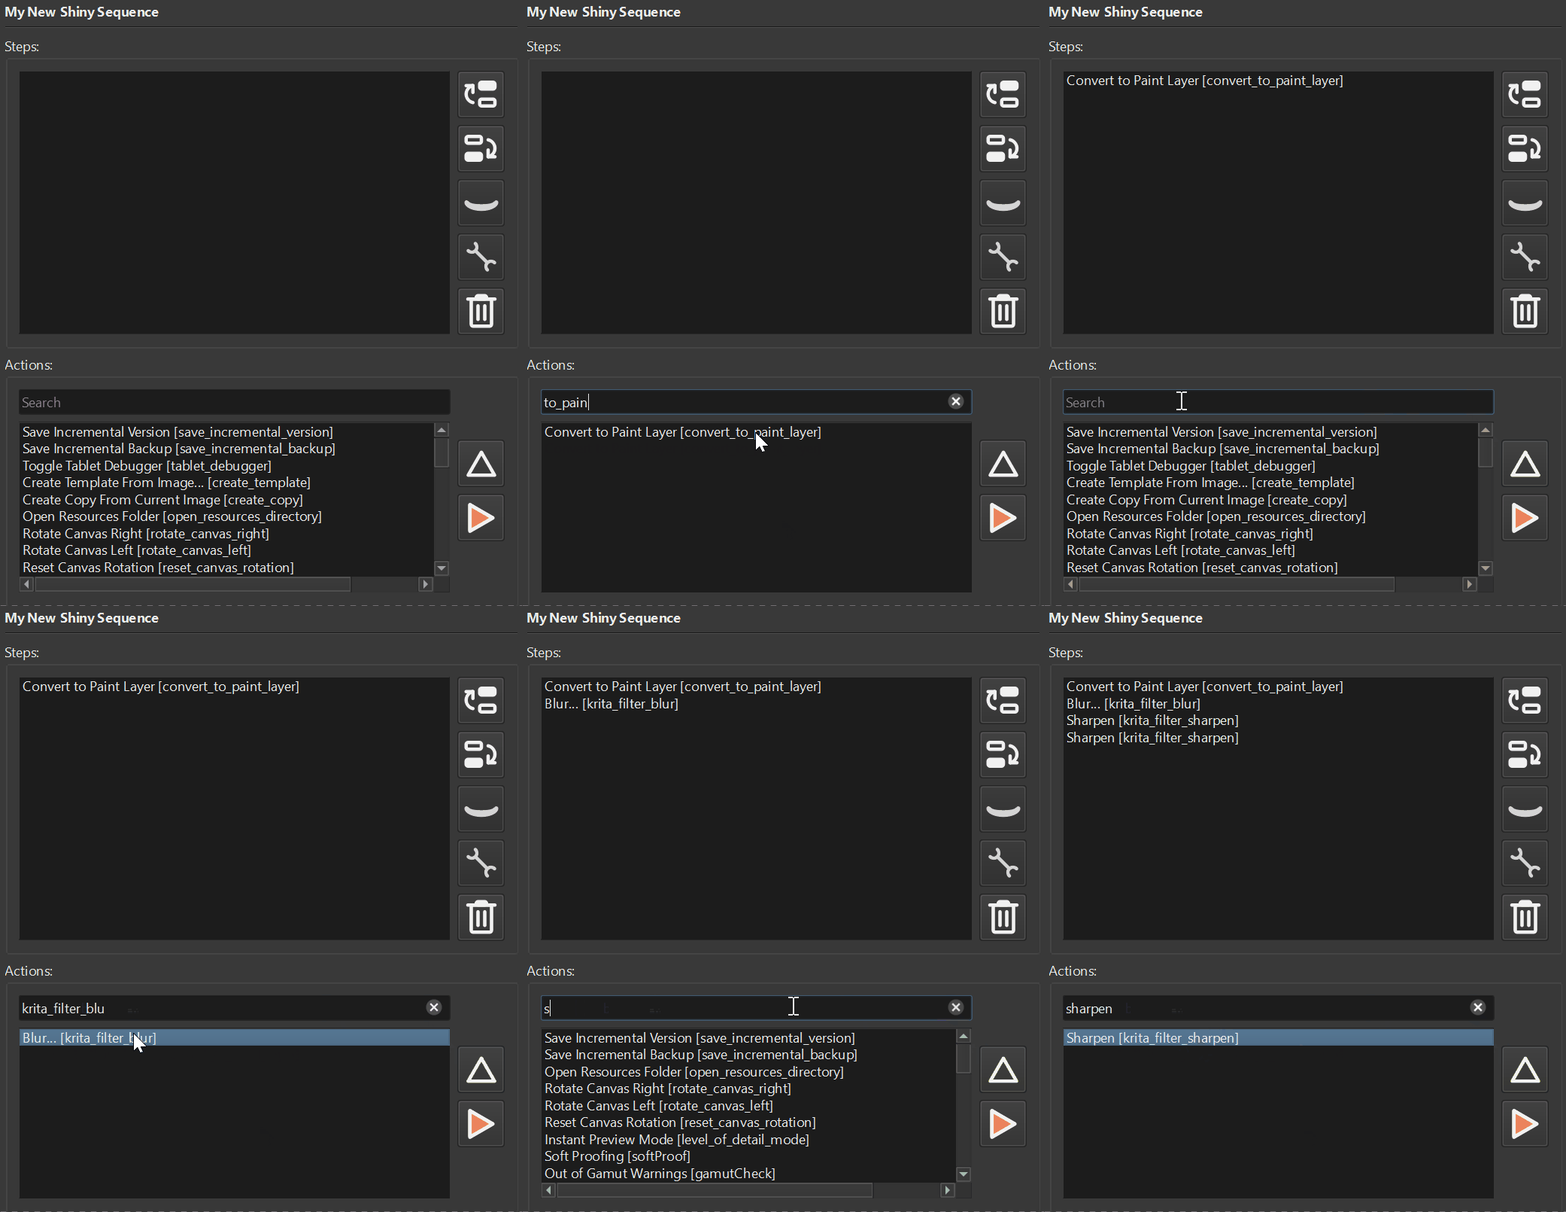
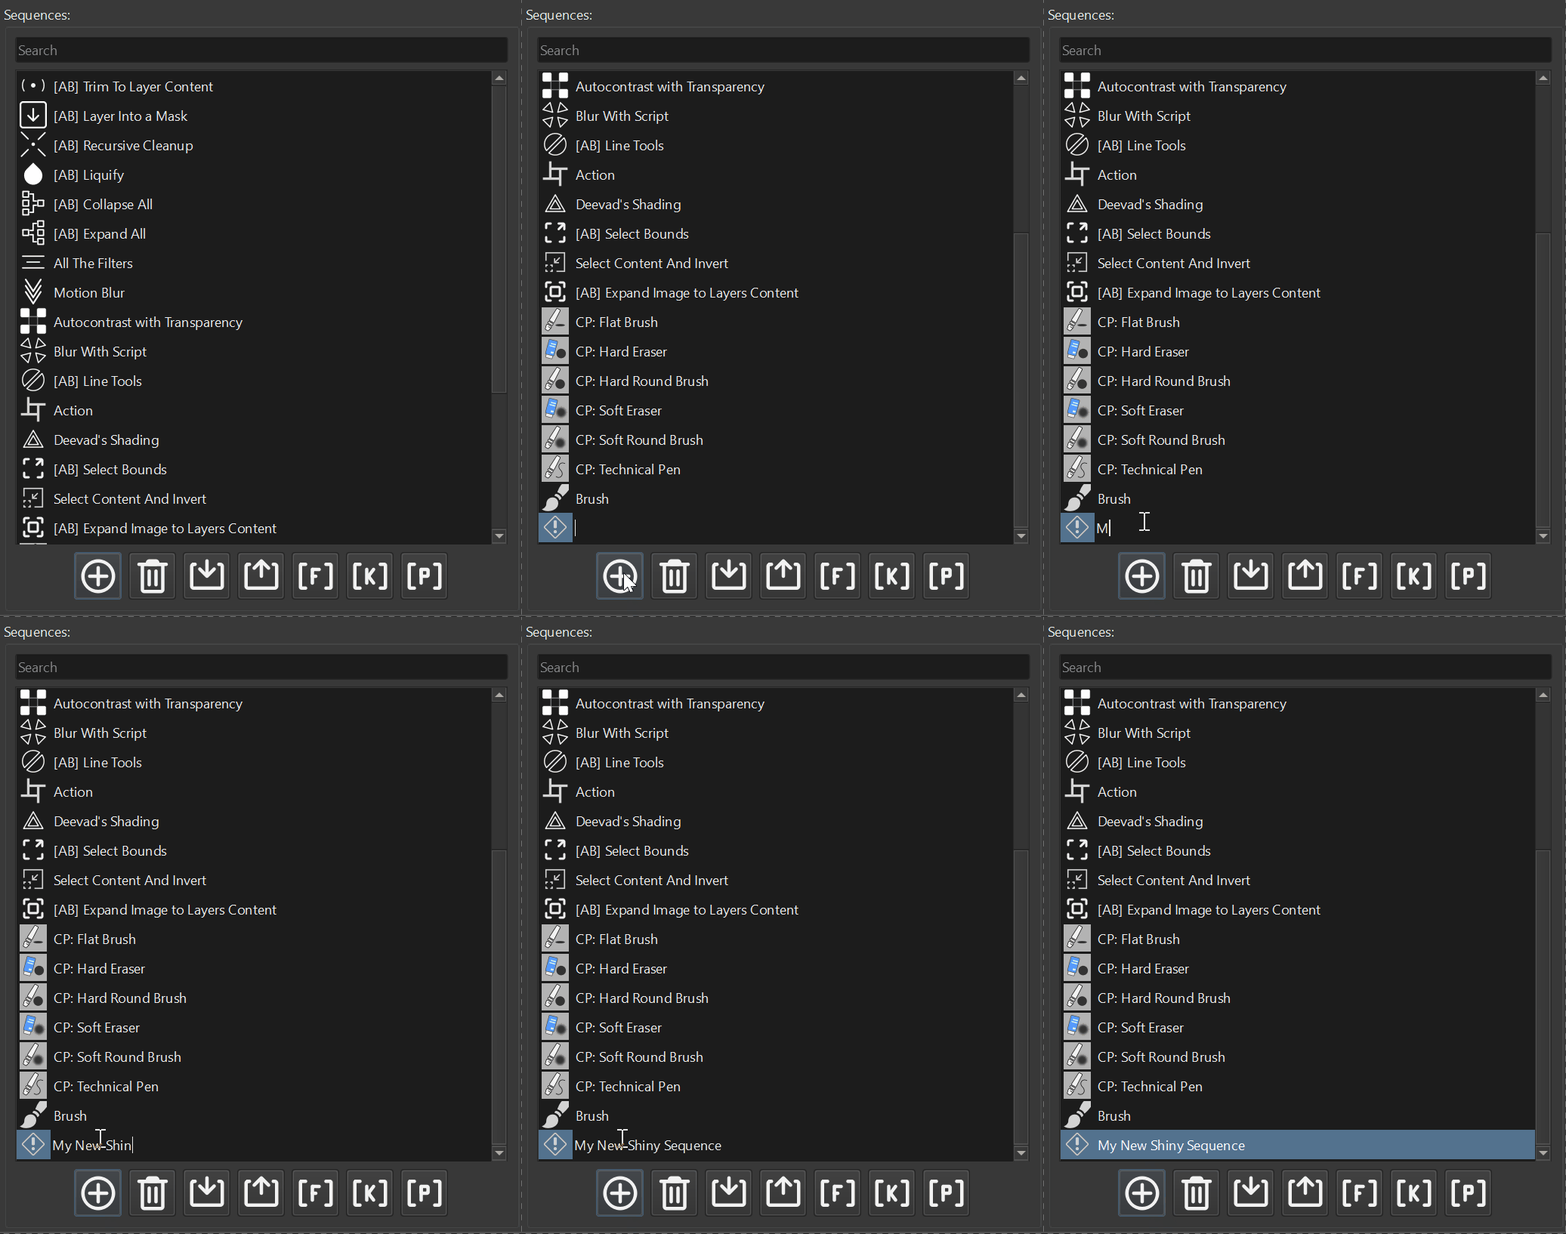
Alternatively, you can use the Actuator plugin to keep your scripts in single place. The neat thing about this plugin is that you can construct most of the sequences like we did before with its builder or combine multiple scripts into a sequence.
The last important aspect is that you are not limited to 10 sockets and you can set any shortcut to your script that you want.
Final Words
All these words like method, object, instance might be a bit intimidating. We will cover these aspect in more details as we go. For now it is important to grasp the basic ideas that you can combine the list of commands and instruct Krita to do operations with your document.
Where to learn more about Krita module
- Python Scripting official documentation – in some way an entry point
- Scripting School by one of the members of Krita community – Once you get the grasp of the Python language, this resource one of the best places to quickly learn Krita scripting
- Krita Python API by Krita Artists community memeber Grum999
- Krita class reference – good place to learn what can be done in the Scripting aspect
- API changelog – choose different Krita versions to see how the API changed
- Python Plugin Developer Tools – handy Krita plugin that helps you develop Krita plugins
Next
Let’s now learn about Data Structures and Function in the next record.
Feedback and Suggestions
Should you have any questions or maybe you want to suggest next topic to cover. Please join our community and let us know.
